That’s right…less dust! The driveway has been the culmination of clay and large trucks grinding it up creating what we refer to on a mountain biking trail as “moon dust”, when the dust is so fine, it goes EVERYWHERE!
A lot has been going since the last post. Including cutting more neighbors phone lines that happen to run right through the middle of the lot, and finally getting an easement and a power trench run. We should have power within a few days!
The excavators finished back filling and rough grading the property as well as putting gravel in the driveway where we will eventually have concrete, and road base over the rest of the 200 plus foot long drive. This gravel and road base will keep the dust down considerably. To help this, when we trenched to put in the water line and new meter, I put in a stop ‘n’ waste for a sprinkler system with a ‘T’ and a hose bib, so we would have water during construction. I can now spray down the dust if needed
The basement floor is heated with radiant tubes encased in the concrete slab, so the plumbing/heating company installed those, and then we poured the concrete over 1/2 of the slab. The other half is poured on Tuesday, July 26th.
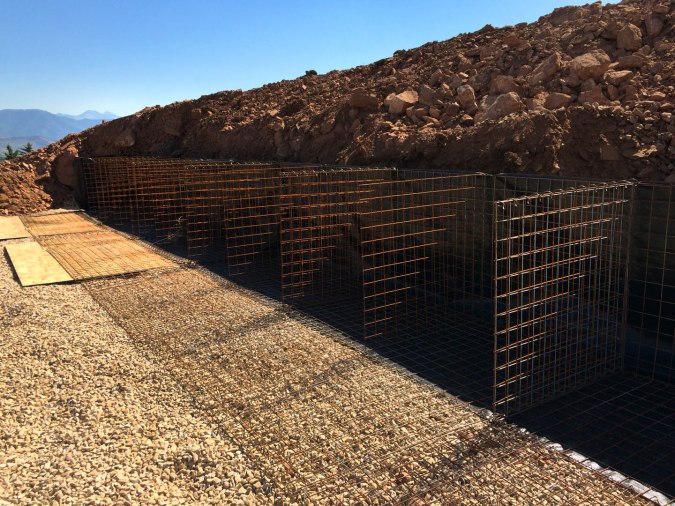
In the meantime, while waiting for the Utah holiday called pioneer day (Pie and Beer day to those of us not of the predominant religion) weekend to pass, I built many of the gabion baskets that will retain the 2 sides of the driveway. Gabion baskets are steel wire grid cages that hold stone, and retain earth while still letting moisture pass through and not getting the hydrostatic pressure of a standard concrete of block wall. They also look super cool, and have kind of a modern, rustic feel to them. We need to fill the baskets with rock, which sounds like a daunting task, so I may rent a skidster and load the rock by machine to save my back. After all we are looking at about 23 tons of rock for the 9 baskets I have assembled so far.
We will start framing in about a week. It may finally start looking like a house!!!
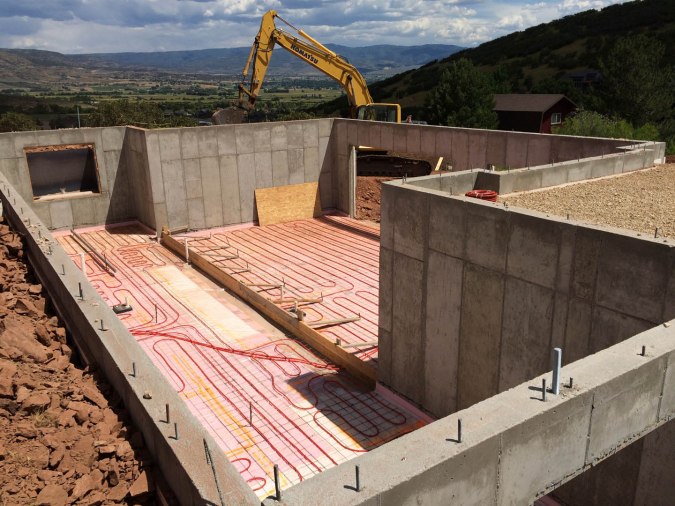
Radiant heat tubes all set to be embedded in the basement slab.
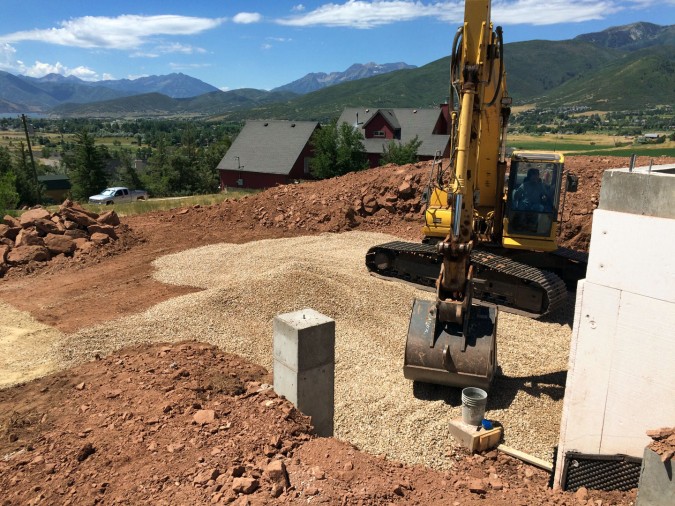
Gravel for the driveway that will be concrete outside the garage.

Gabions on the west side of the drive, and may get a partial second level to help hold the dirt back.
The afternoon sun highlighting rust on the gabion baskets. I’m am counting on them not rusting out before I do 🙂
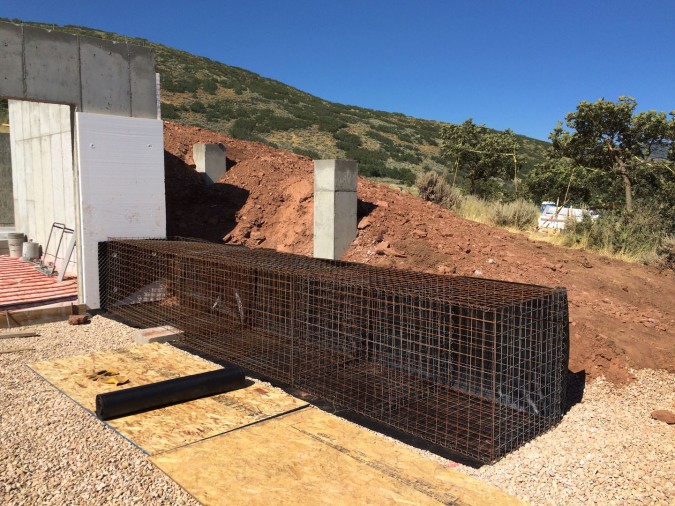
Gabions to the right of the garage.
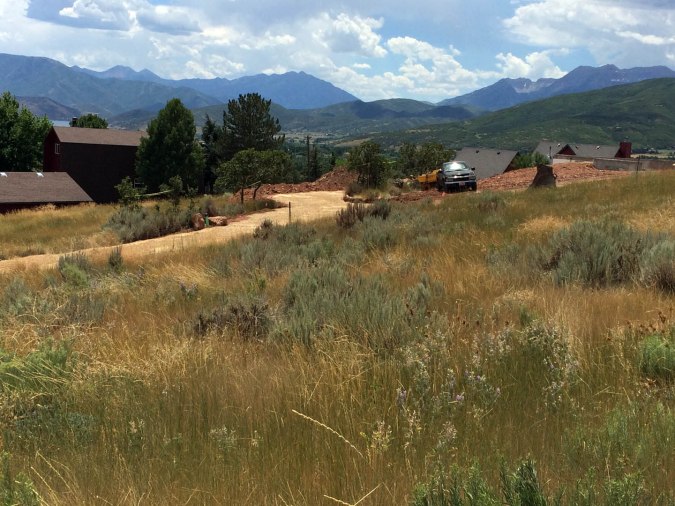
Long winding driveway covered in road base. It will eventually have a gravel topping and remain that way.
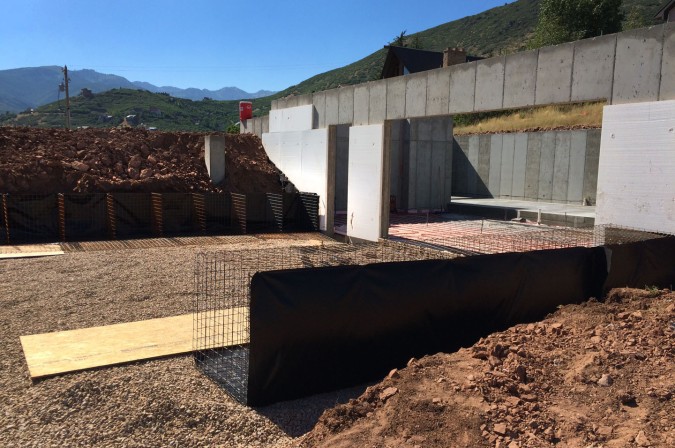
Gabion baskets on approach to the garage.
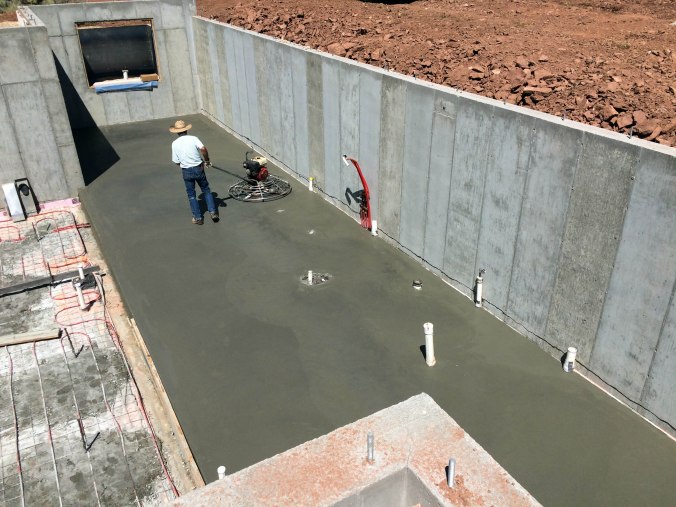
The concrete cowboy putting a slick finish with a power trowel on the basement floor. This will be the finish floor.
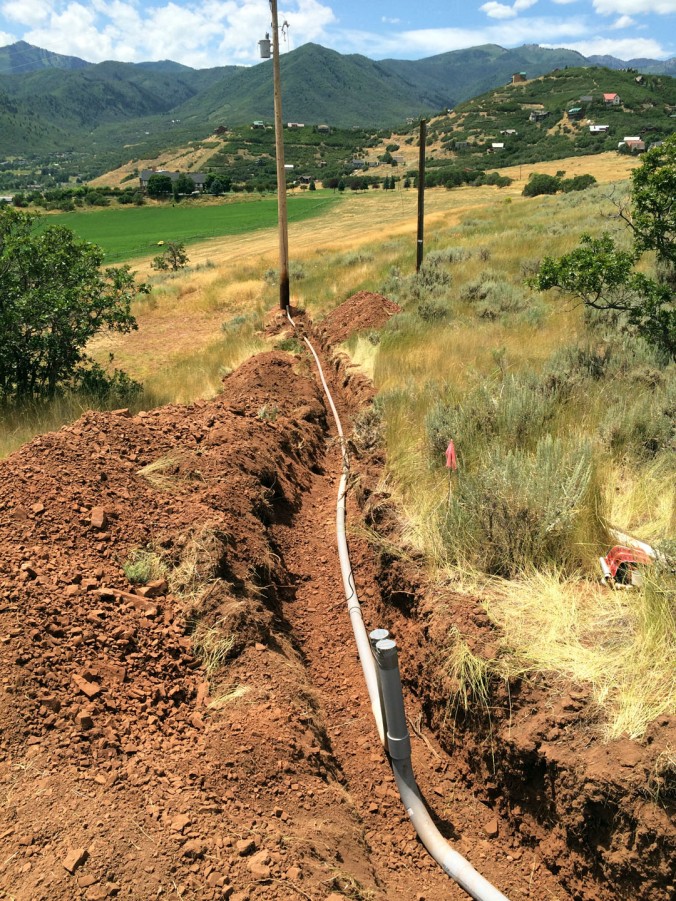
The power trench and conduit from a neighbors property to ours where a HUGE phone cable (holding about 50 wires) was cut several weeks ago and caused some big delays in getting power to the house.


